Showing posts with label acting. Show all posts

Sunday, August 14, 2011

Fairy Dust


  • Corn Starch
  • Green Food Dye
  • Green Glitter
  • Essential Oil
  • Plastic Bag


  1. Put cornstarch in bag. 
  2. Put in a few drops of food coloring. 
  3. Mix it up a little. 
  4. Then put in green glitter. 
  5. Put in essentil oil, then mix up real good. 
    1. label the oil essence on the bag in case of allergies.
You can use this for makeup, costume, 'magic', and as a few say, getting in touch with the fairy realm.

Fx Fingers


  • Disposable rubber gloves
  • Plaster of paris 
  • Skin colored and red acrylic Paints 
  • Elastic band
  • Fx Blood

  1. Make up enough plaster to fill the fingers of the gloves. 
    1. To measure this fill the fingers in the glove with water and pour into a measuring cup.
    2. This is the amount of plaster mix you will require.
  2. There is no need to prepare the gloves as we will just rip the glove off afterwards.
  3.  Pour your plaster mix into the fingers of the glove and tie off with a rubber band to stop the mix running out. 
  4. Sit the filled glove down on a flat table to allow it to set.
  5. Once the plaster has set remove the glove and take out the fingers. 
    1. Break off any mis-shaped pieces.
    2. You should have what looks like a broken off finger.
  6. Use your paints to paint the stumps of the fingers red like dripping blood and the other parts a natural skin color.

Saturday, August 13, 2011

Fx Bruses


  • Eye shadows in blue, yellow, charcoal, grey and green.
  • Applicators
  1. Start by layering the eye shadows beginning with blue. 
  2. Add blots of grey, blue and green.
  3. Layer the colors until you have a bruise like coloring.
  4. Add a little green and yellow to the edges.
  5. With a little bit of practice you can get some great results.

Liquid Blood


  • 1/2 bottle of light corn syrup 
  • Hot water 
  • Liquid soap _ Keep away from face.
  • Red food coloring
    • green or blue food dye if required


  1. Place the corn syrup into a bowl and mix in some hot water.
  2. Add a small amount at a time until your have a nice consistency. (not too runny, not too lumpy).
  3. Add a few drops of liquid soap which will help with the clean up later and keep the blood moist on the skin.
  4. Stir through the red food coloring.
  5. You can darken it will a little green or blue if required.
  6. Store in a fridge and just apply to the skin where needed.

Wednesday, August 3, 2011

Core ingredients of hair Styling Gel.

Ingredients
  • 1 part beeswax.
  • 1 part Aloe Juice

Method
  1. Blend ingredients together in a double boiler.
  2. Bring to boil.
  3. Let cool
  4. Place in container.

And a Squib is?

Food colouring and corn syrup in small balloon with explosive devises between the blood and the actor.   Not recommended for the untrained - only for professional use.

Just a little chunk of flesh!

Completed Project: Zombie Bite Picture #1


You will need:
  • Castor Oil
  • Make up or paint brush
  • Make up Sponge
  • Translucent powder.
  • Cream make up [foundation close to your skin colour]
  • Scar wax
  • Liquid latex
  • Spirit Gum
  • Cotton balls
  • Bruising make up
  • Fake Blood
Method.
  1. Wash and dry the area well.
  2. Decide where the injury has occurred [helps also knowing what caused the injury].
Dealing with the surrounding area.
  1. Wounds equal discolouration of the surrounding area.  Wounds that have just occurred may not have a lot of 'bruising' yet.  So be careful how much discolouration you actually might want to put on the surrounding area.   
  2. Cover the bruising with a translucent powder.
Creating the raw wound
  1. Apply reds and purples to the injured area.
    1. Keep the color splotchy not blended as the very 'splotchyness' gives dimension to the wounded flesh 
  2. Apply a layer of Spirit Gum.
  3. Wait till the gum has become  tacky.
  4. Mush some pieces of the cotton balls in the Fx wound.
  5. Allow some of the cotton balls ends to remain at the Fx wound sight.
  6. Repeat the make up on - gum and cotton ball chunk process.
  7. Pick at the Fx wound pulling away at the cotton ball chunks so that the cotton hairs still appear.
  8. When there is a build up that looks like the Fx wound is thick and fleshy and you are satisfied with stop adding the layers.
Making torn skin.
  1. Place a little cold cream or caster oil on your finger tips.
    1. Helps stop the wax from sticking on you and getting in your way.
  2. Using the scar wax and more cotton balls build up the Fx raw wounds surrounding area.
  3. Blend the wax into the skin on the external wound area.
    1. Keep the bits near the actual wound area torn and rough.
  4. The liquid latex now goes around the scar wax and around the surrounding area.
  5. Let the latex dry.
  6. Apply again a few more times.
  7. Apply a small amount of Caster oil on the wound site where the skin needs to be torn off looking.
    1. The Caster Oil application makes sure your Fx does not Stick too or pull at the Fx wound.
  8. Carefully dribble then brush out ward [aim from center to out side of wound ] 
Dealing with the surrounding area.

  1. Apply the Liquid Latex to the surrounding area.
  2. Allow the Liquid Latex to dry.
  3. Use a little Caster Oil over the latex.
  4. Wipe off the excess Caster Oil with a cotton ball or tissue.
  5. Blend the Liquid Foundation over the Fx and real skin area.
  6. Apply Fx blood. [ For this Fx wound apply thicker blood]
  7. Let the blood get into the crevices.
  8. Blot some of the blood off

Friday, October 22, 2010

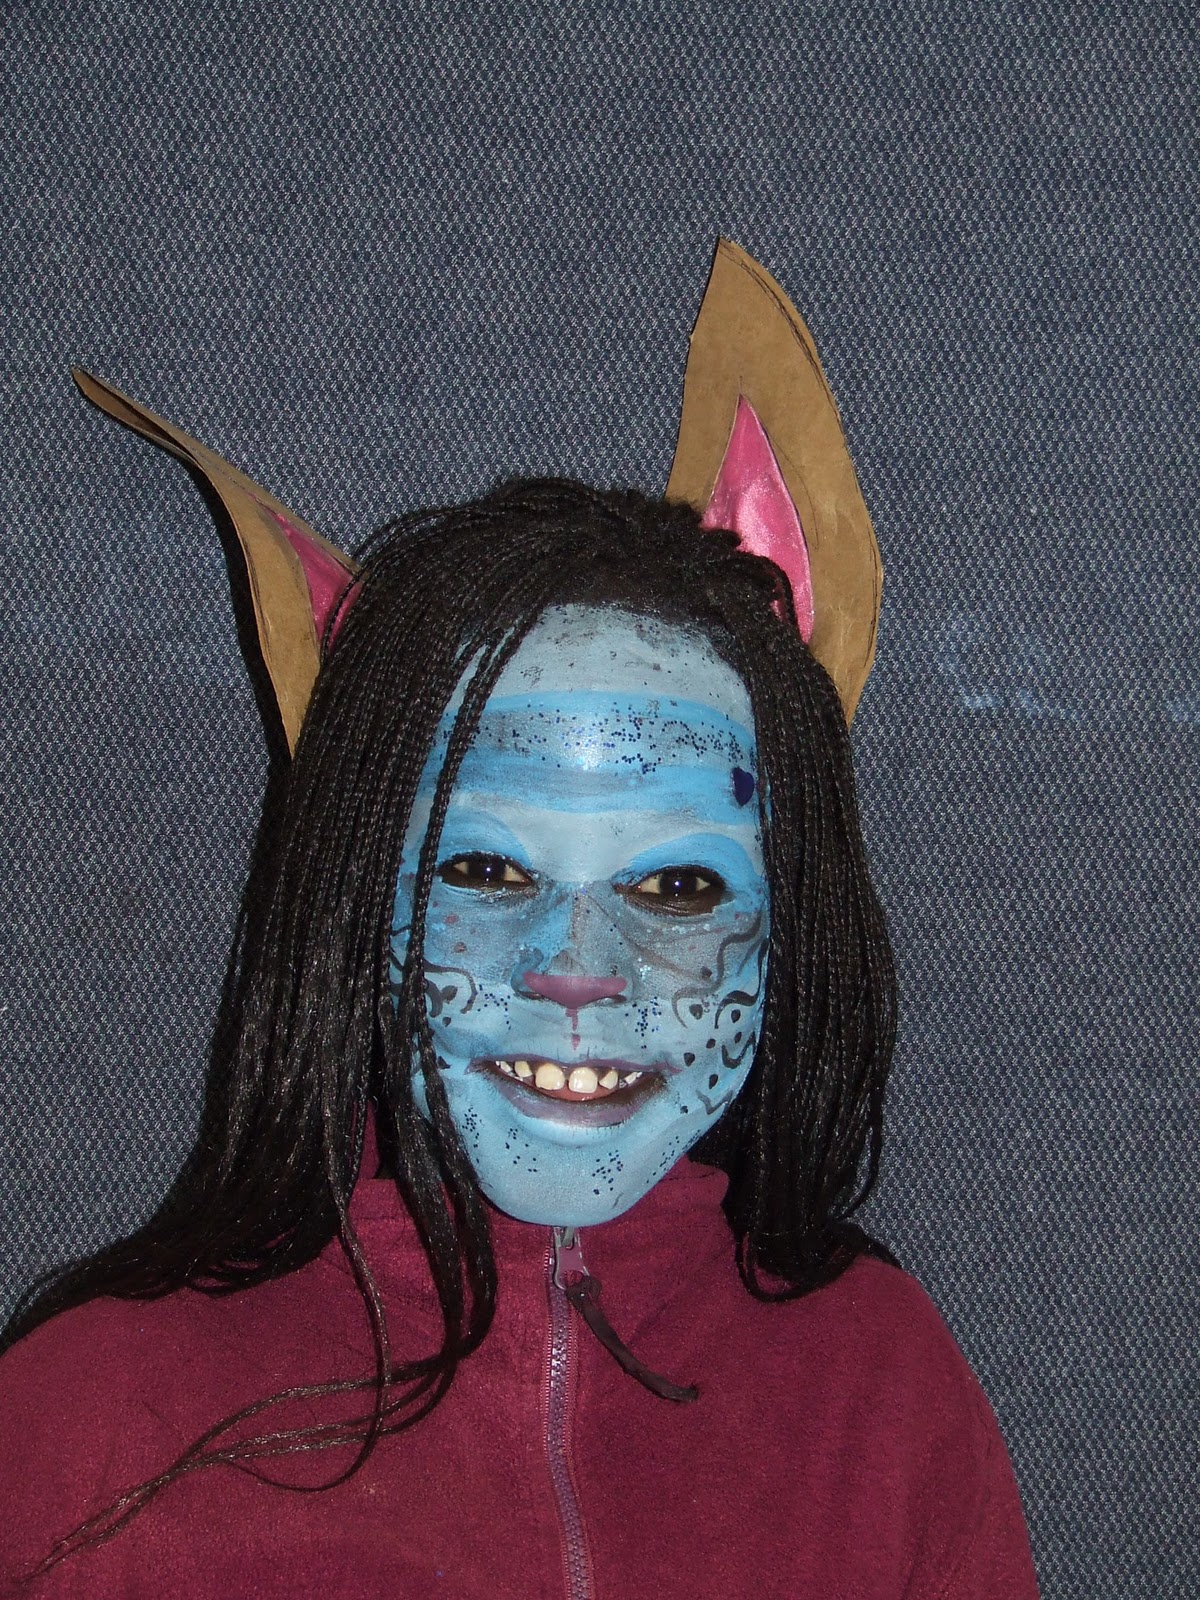
Cheshire cat

The instructions were' blue face of a Cheshire cat' please.

This full face stayed on for nearly six hours before the consumer went to sleep.  Stayed in p0lace through the eating and drinking activities as well.